
A bench grinder is one of the most hardworking tools in any workshop, whether you are sharpening drill bits, dressing metal surfaces, or removing rust from worn parts. Like any precision power tool, a bench grinder demands consistent, thoughtful maintenance to perform at its best and last for years without costly breakdowns. Neglecting routine care does not just shorten the tool's life — it also creates genuine safety risks that can result in wheel shattering, motor burnout, or injury.
This guide is designed to walk you through every essential aspect of bench grinder maintenance, from daily inspection habits to deeper mechanical repairs. Whether you are a seasoned machinist or a dedicated hobbyist, understanding how to properly maintain your bench grinder will keep performance sharp, extend service life, and protect your investment on every job.
Understanding Your Bench Grinder Before You Maintain It
Key Components and Their Roles
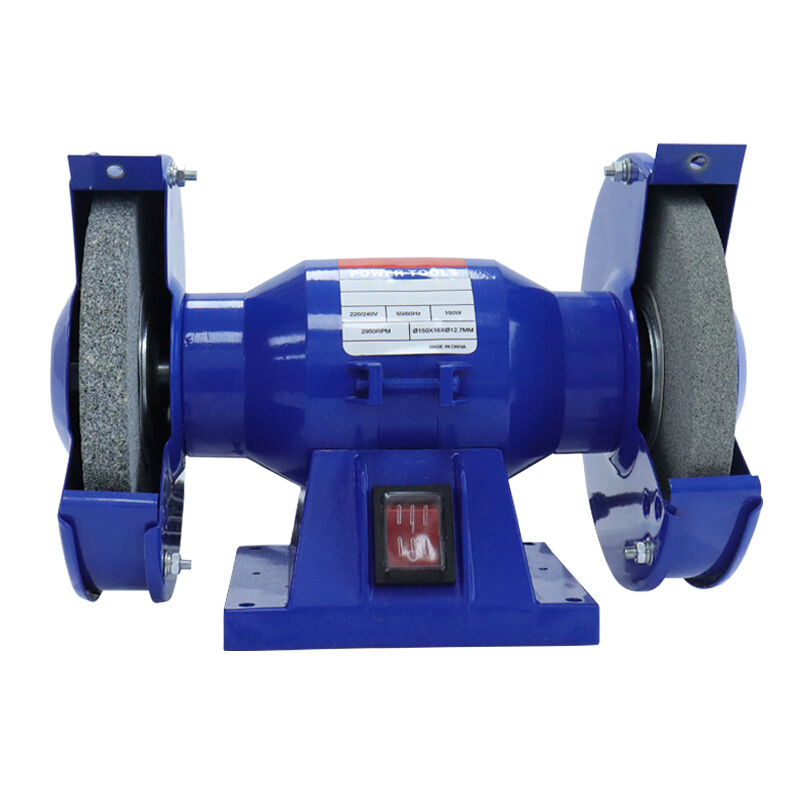
Before performing any maintenance, it is important to understand what makes up a bench grinder and how each component contributes to its function. The primary parts include the motor, grinding wheels, wheel flanges, tool rests, eye shields, spark guards, and the spindle assembly. Each of these parts plays a role in both performance and safety, and each requires its own maintenance attention over time.
The motor is the heart of the bench grinder. It drives the spindle at high RPM, which in turn rotates the abrasive wheels. The quality and condition of the motor directly determines grinding efficiency and heat generation. If the motor runs hotter than normal or produces unusual sounds, it is often the first sign of a maintenance problem that needs addressing immediately.
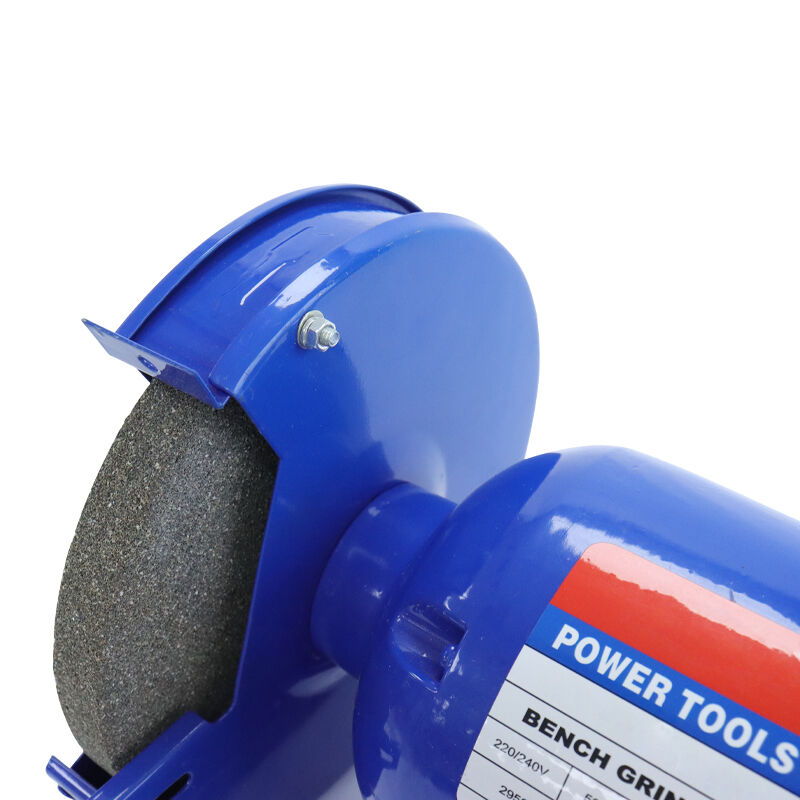
The grinding wheels are consumable components that wear down over time. They must be correctly dressed, balanced, and matched to the motor's rated speed. Using a cracked or unevenly worn wheel on a bench grinder is a serious hazard, and understanding how to inspect them properly is a foundational maintenance skill.
Operating Specifications and What They Mean for Maintenance
Every bench grinder comes with rated specifications — RPM, wheel size compatibility, amperage draw, and duty cycle. These are not just marketing numbers. They represent the safe operating envelope within which the bench grinder functions reliably. Pushing a bench grinder beyond its duty cycle, for example, causes the motor windings to overheat, accelerating insulation degradation and shortening motor life.
The wheel speed rating is especially critical. Each abrasive wheel is designed for a maximum safe RPM. Always confirm that the wheel's stated maximum RPM is equal to or higher than your bench grinder's rated speed. Installing an incompatible wheel introduces a dangerous mismatch that no amount of maintenance can correct — it must be addressed before operation begins.
Understanding these specifications gives you a clear maintenance framework. You will know when something is operating outside normal parameters, and you will be able to interpret warning signs — unusual heat, vibration, or noise — as diagnostic data rather than guesswork.
Routine Maintenance Practices for a Bench Grinder
Daily and Weekly Inspection Habits
Consistent visual inspection is the simplest and most effective form of bench grinder maintenance. Before each use, examine the grinding wheels closely for cracks, chips, or uneven wear patterns. A quick 'ring test' — gently tapping the mounted wheel with a wooden handle — can reveal internal cracks. A healthy wheel produces a clear ringing tone, while a cracked wheel produces a dull thud.
Check that the tool rests are properly adjusted and positioned no more than 1/8 inch from the wheel face. A gap that is too wide creates a pinch point where workpieces can get caught between the rest and the wheel, creating a serious hazard. On a weekly basis, inspect the eye shields for cracks or discoloration, verify that all fasteners are snug, and confirm that the spark guards are properly positioned.
Dust and metal particle buildup around the motor vents is another weekly concern. A bench grinder generates considerable debris during operation, and if that debris accumulates in or around the motor housing, it restricts airflow, leading to thermal buildup. Use compressed air or a soft brush to clear vents regularly — this one habit alone can significantly extend motor life.
Wheel Dressing: Restoring Cutting Performance
Over time, the abrasive surface of a grinding wheel becomes glazed and loaded with metal particles, reducing its cutting efficiency dramatically. Wheel dressing is the process of restoring that surface using a dressing tool — typically a star-wheel dresser or a diamond-tipped dresser — to expose fresh abrasive grains and restore the correct wheel profile.
To dress a bench grinder wheel correctly, turn on the bench grinder and allow it to reach full operating speed. Hold the dressing tool firmly against the tool rest and apply steady, light pressure across the wheel face in smooth, even passes. Never press hard or angle the dresser aggressively — the goal is to remove a thin layer uniformly, not to reshape the wheel quickly.
After dressing, inspect the wheel for roundness and check that the tool rest gap has not widened as a result of the material removed. Readjust the tool rest as needed. A properly dressed bench grinder wheel cuts faster, runs cooler, and places less strain on the motor — making dressing an essential part of any maintenance routine.
Lubrication and Mechanical Upkeep
Bearing Maintenance and Lubrication Schedules
The spindle bearings of a bench grinder support the rotating mass of the grinding wheels and experience continuous load during operation. Bearing failure is one of the most common mechanical problems in aging bench grinders, and in most cases it is preventable through proper lubrication. Listen for grinding, squealing, or rumbling sounds from the spindle area — these are early indicators of bearing distress.
Many modern bench grinder units use sealed, pre-lubricated bearings that do not require external lubrication under normal conditions. However, in older models or high-use industrial applications, exposed bearings may benefit from periodic application of appropriate grease. Always refer to the manufacturer's documentation to confirm the bearing type and recommended lubrication specification before applying any product.
When replacing bearings, always match the original specification for inner diameter, outer diameter, and load rating. Using undersized or lower-rated bearings as a cost-saving measure is a false economy — undersized bearings fail quickly under the radial loads generated by a bench grinder in operation and can damage the spindle housing in the process.
Motor Care and Electrical Maintenance
The motor in a bench grinder is typically a single-phase induction motor and is relatively robust, but it does require attention. One of the most overlooked maintenance tasks is inspecting the carbon brushes in universal-motor type bench grinders. Brushes wear down gradually and, when they become too short, cause arcing, reduced power, and eventual motor failure. Inspect brushes every few months under heavy use and replace them when they reach the manufacturer's minimum length specification.
Electrical connections, including the power cord, strain relief, and terminal block connections inside the motor housing, should be inspected periodically for signs of heat damage, fraying, or corrosion. A loose terminal connection on a bench grinder can cause intermittent power loss, voltage spikes, and motor winding damage. If you are not qualified to work inside the motor housing, have the inspection carried out by a qualified technician.
If the bench grinder motor hums but does not start, the start capacitor — if the motor is capacitor-start type — may have failed. Capacitor failure is a common and relatively affordable repair. If the motor runs but produces excessive heat with a light load, check for restricted airflow, check the supply voltage, and consider whether the motor windings have developed a partial short that requires professional rewinding or motor replacement.
Troubleshooting Common Bench Grinder Problems
Vibration and Wheel Imbalance
Excessive vibration is one of the most reported problems with a bench grinder that has been in service for some time. While some vibration is normal, aggressive shaking during operation usually points to wheel imbalance, an improperly mounted wheel, or worn spindle bearings. Begin diagnosis by turning off the bench grinder and performing a careful inspection of the wheel for uneven wear, chips along the edge, or deposits on one side of the wheel face.
If the wheel appears uniform and the vibration persists, suspect the flanges. Flanges must be flat, clean, and of equal diameter. A warped or damaged flange transfers uneven clamping force to the wheel, creating a rocking motion at speed. Replace damaged flanges immediately — this is a low-cost fix that eliminates a significant safety risk and dramatically improves the bench grinder's running smoothness.
In some cases, the vibration originates not from the wheel assembly but from the bench grinder's mounting surface. Ensure the bench grinder is bolted securely to a flat, rigid surface with rubber anti-vibration pads between the base and the bench. Loose mounting amplifies vibration, accelerates bearing wear, and makes precision work nearly impossible.
Overheating and Thermal Shutdown
A bench grinder that overheats and trips its thermal protection switch is telling you something specific: it is working harder than it should be for the load being applied. Common causes include a glazed grinding wheel that requires more motor effort to cut, restricted motor ventilation, or continuous use beyond the rated duty cycle. Identify the root cause rather than simply resetting the thermal switch and continuing.
Dress the grinding wheel to restore its cutting efficiency as described earlier. Clear all debris and dust from the motor vents using compressed air. If the ambient temperature in your workshop is high, ensure there is adequate airflow around the bench grinder during operation. Allowing the motor to cool for several minutes between heavy grinding sessions extends thermal life and protects the winding insulation from premature degradation.
For workshops where the bench grinder sees sustained daily use, consider investing in a higher-capacity model with a longer duty cycle rating. A bench grinder sized appropriately for the workload will run cooler, require less maintenance, and deliver more consistent grinding results than an undersized unit pushed to its limits every session. For versatile rotary grinding applications, a capable option worth considering is the bench grinder accessory toolkit that expands your abrasive capabilities with an extensive set of attachments.
Long-Term Care and When to Consider Replacement
Establishing a Preventive Maintenance Schedule
Reactive maintenance — fixing problems after they occur — is always more expensive and disruptive than preventive care. For a bench grinder in regular use, a simple scheduled maintenance calendar makes a significant difference to tool longevity. A practical schedule includes daily visual inspection before use, weekly cleaning of vents and tool rests, monthly wheel dressing and fastener checks, and an annual deeper inspection of bearings, electrical connections, and brush condition.
Keeping a basic maintenance log for your bench grinder is a professional habit that pays dividends over time. Recording dates of wheel replacement, dressing sessions, and any unusual behavior gives you a clear history that helps identify emerging patterns before they become failures. It also helps you establish realistic replacement intervals for consumable parts based on your actual usage rather than generalized estimates.
For a bench grinder used in a commercial or production environment, consider having the tool inspected by a qualified service technician annually. A professional inspection can identify wear patterns in bearings, motor windings, and wheel flanges that are not easily visible during routine user maintenance but which, if left unaddressed, will eventually result in failure or a safety incident.
Signs That Your Bench Grinder Needs Replacement Rather Than Repair
There are situations where repair is no longer the economically or practically sound choice. If the motor shows signs of burned windings — characterized by a strong electrical burning smell, dramatically reduced power, or visible discoloration of the motor housing — the cost of rewinding or replacing the motor often exceeds the value of the bench grinder itself, particularly for entry-level models.
Spindle housing damage, cracked base castings, or a warped spindle are also indicators that replacement is the better path forward. These structural faults affect the geometric alignment of the wheels and cannot be corrected by accessory replacement or lubrication. A bench grinder with a compromised structure cannot be made safe regardless of how much maintenance effort is applied.
When replacement becomes necessary, use the experience gained from maintaining your previous bench grinder to inform a more intelligent purchasing decision. Consider duty cycle requirements, wheel size needs, bearing quality, and the availability of replacement parts. A bench grinder that is easy to service and well-supported by spare parts availability is a long-term asset, not just an initial purchase.
FAQ
How often should I dress my bench grinder wheel?
The frequency depends on usage intensity, but a practical rule is to dress the wheel whenever you notice a reduction in cutting efficiency, increased heat on the workpiece, or visible glazing on the wheel surface. For regular workshop use, dressing every two to four weeks is a reasonable starting point. In production environments with daily use, dressing may be required more frequently to maintain consistent performance from your bench grinder.
Can I use any abrasive wheel on my bench grinder?
No. You must only use wheels that are rated for a maximum RPM equal to or higher than your bench grinder's operating speed. Additionally, the wheel bore must match the spindle diameter, and the wheel type must be appropriate for the material you are grinding. Using the wrong wheel on a bench grinder is a serious safety hazard that can result in wheel disintegration at operating speed.
What causes a bench grinder to vibrate excessively?
Excessive vibration in a bench grinder is most commonly caused by an unbalanced or unevenly worn grinding wheel, damaged or unequal flanges, worn spindle bearings, or an unsecured mounting surface. Start your diagnosis by inspecting the wheel and flanges, then check bearing condition, and finally verify that the bench grinder is firmly bolted to a stable surface with proper anti-vibration mounting. Addressing each factor systematically will identify and eliminate the source of vibration.
How do I know when to replace the carbon brushes in my bench grinder?
Most manufacturers specify a minimum brush length — typically around 6mm — below which the brushes should be replaced. In practice, you should inspect brushes every three to six months under regular use, or sooner if you notice reduced motor power, sparking at the motor vents, or intermittent operation. Replacing brushes is a straightforward, low-cost maintenance task that prevents significant motor damage if done on schedule.
